With only one click, the new Auto Velocity tool in CapCut, you can automatically change the pace of a movie to be both fast and slow. Capcut as you know is one of the best video editor apps for mobile devices.
Since Auto Velocity CapCut is one of the newest features, you must first update the CapCut software that is already installed. If you are using an Android phone, go to this link to update Capcut to latest version. In case you have an apple device use this link.
You can also now use Capcut on your PC. Click on the link to find out the detailed guide on how to use Capcut for PC and subsequently apply the Auto Velocity feature.
The Auto Velocity CapCut tool still lacks a parameter to alter the pace of the final movie because it was newly published.
What is the Auto Velocity feature in Capcut?
Capcut has several uses and is easy to use. In addition to its basic features like video editing, text, stickers, filters, colors, and music. CapCut offers free complex capabilities like smooth slow-motion effects, keyframe animation, chroma key, Picture-in-Picture (PIP), and stabilization to help you capture and clip moments.
With automated capabilities, CapCut Auto Velocity makes it easy to adjust the speed and slowness of a video layer. Anyone with rudimentary video editing abilities may easily adapt their work to appeal to a wider audience.
For working with the Auto Velocity feature in this tutorial you can use the audio from this file.
Let’s study and practice how to utilize the Auto Velocity CapCut function when you upgrade the CapCut software to the most recent version and have the music from the file given above.
Steps to use the Auto Velocity on Capcut
Follow these simple steps to achieve Auto Velocity on Capcut:
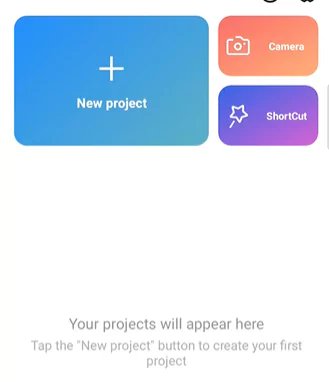
- In the CapCut application, start a new project.
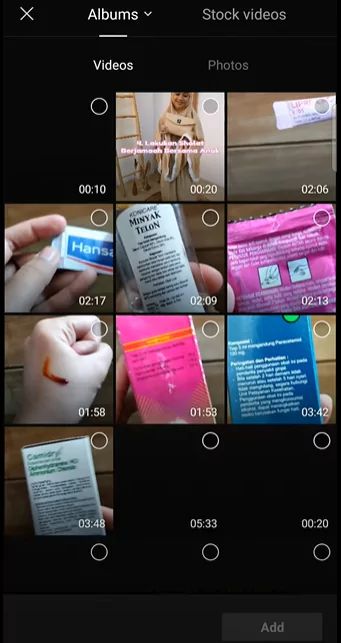
- Add the video to the timeline you wish to edit.
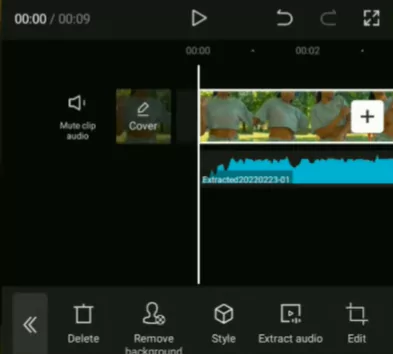
- Include the music you downloaded earlier.

- Cut the video for a time to match the song’s duration.
- Click on the video layer in the timeline or open the menu.
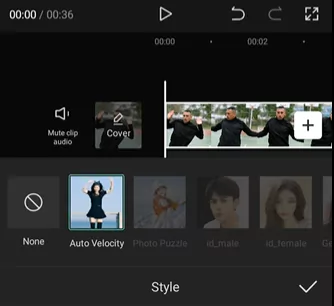
- Locate and access the Styles menu.
- Here, the Auto Velocity function is selected and clicked.
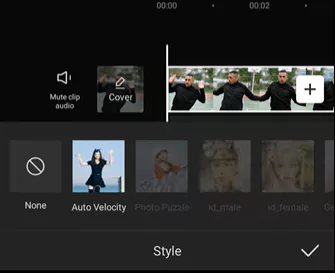
- Allow a few seconds to pass while the auto velocity effect is being created.
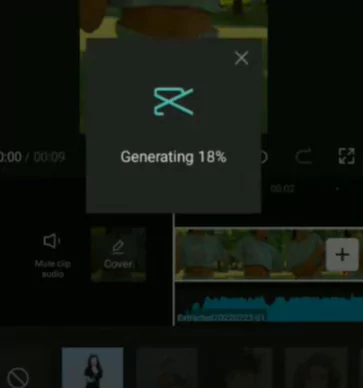
- Play your video one more to discover the outcome and export
With the CapCut app, you may manually design your own velocity effect if the results of the auto velocity effect do not meet your needs. Learn the CapCut instruction on creating velocity clips, which I covered in another post.
In case you do not wish to edit then you can directly download and use the Velocity Templates for CapCut. You can also explore a lot of good latest templates for Capcut from our catalog.
Watch the video from the below for a detailed understanding on how to utilize Auto Velocity on CapCut.
Auto Velocity option Not visible on Capcut?
Are you unable to locate the Auto Velocity function in CapCut?
If the auto velocity option in CapCut is not visible, your CapCut app may not have been updated recently. Also, there might be a malfunction or glitch in CapCut if the auto velocity functionality is not visible to you.
First, update CapCut to the most recent version in order to address auto velocity not appearing in CapCut. Use the links provided in the first section to update the app to latest version.
After that, you must first add a video in order to use auto velocity on CapCut. Wait for the creation process to complete after selecting the auto velocity option from the Style menu.
Closing Thoughts
In this post we just saw on how to access and utilize CapCut’s Auto Velocity function. Was this article useful to you? Please share it with your friends and family using the share buttons below.
Comment with your thoughts in the space provided below. We appreciate your presence with us today.

