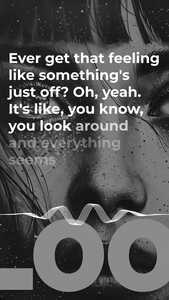
I was looking to create the same style captions, like the ones from the photo--6 - 7 lines, framed so I could move them around wherever I need them placed. I tried some caption options but I get captions which are all over the screen. Sometimes even going out of the screen. Any help and tips is much appreciated. Thanks
Hi,
We see the style you are aiming for in the image. You want a solid block of text, several lines long, that acts as a single unit you can place anywhere. The issue you are having with captions scattering everywhere is common when using CapCut's "Auto Captions" feature, as it tries to sync shorter phrases to the audio and places them individually.
The style you're referring to is manually placed, multi-line subtitles—clean, consistent, and aligned within a boxed/text frame.
To get the framed, multi-line block effect like in your photo, you should add the text manually as a single text element instead of using the auto-caption feature.
Here is how you can do it in CapCut:
- Navigate to the Right Spot: Go to the point in your video timeline where you want this block of text to appear.
- Add Text Manually:
- Tap the "Text" icon (usually looks like a 'T') in the bottom toolbar.
- Select "Add Text".
- Skip auto-captions if you want exact layout control.
- Enter Your Text:
- A text box will appear on the screen, and your keyboard will pop up.
- Type (or paste) all 6-7 lines of your desired caption into this single text box. Use the "Return" or "Enter" key on your keyboard to start a new line within the same text box.
- Example:
-
Ever get that feeling
-
like something's
-
just off? Oh, yeah.
-
It's like, you know,
-
you look around
-
and everything
-
seems...
- Style the Text:
- While the text box is selected, tap "Style" (or look for font/styling options).
- Font: Choose a clean, sans-serif font similar to the example (like Helvetica, Arial, or one of CapCut's built-in options).
- Color: Set the color to white.
- Size: Adjust the font size so it's legible but fits well within the block.
- Alignment: Left-align the text (usually the default) or centered.
- Line Spacing/Leading: Check if there are options to slightly adjust the space between lines if needed, though the default is often fine.
- (Optional) Background/Frame: While your example doesn't have a visible frame, the text itself forms a block. If you wanted an actual background or border, you could explore options under "Style" like "Background" or "Stroke," but for the look in the photo, just plain white text is needed.
- Add a slight shadow for readability over visuals.
- Frame/Group for Easy Moving:
-
Once you're happy with one text box:
-
Tap on it and Duplicate for the next lines/scenes.
-
You can group multiple text boxes (tap and hold → group) if using multiple elements.
-
Or just use one long text block if you break the lines yourself.
-
-
- Position and Resize the Block:
- Tap and drag the text box on the preview screen to position it exactly where you want it.
- Use the corner handles (pinch-to-zoom gesture often works too) to resize the entire text block uniformly until it looks right.
- Set the Duration:
- On the main timeline, find the text layer you just added.
- Tap and drag the ends of this layer to control how long the text block stays on screen. Make it appear and disappear when needed.
-
Avoid Text Going Off-Screen
-
Go to the “Canvas” settings in CapCut.
-
Ensure you're editing in the 9:16 ratio (or whatever your final aspect ratio is).
-
Keep your text inside the safe zone (you can toggle on "Safe Zone" in settings).
-
Why this works better than Auto Captions for this style:
- Single Unit: You are creating one text object containing all the lines, not multiple separate caption segments.
- Full Control: You control the exact position, size, and timing of this single block, preventing it from jumping around or breaking awkwardly.
Pro Tip:
-
Create one “master” caption style → save it as a custom template.
-
Reuse it by duplicating and changing only the text.
By using the manual "Add Text" feature this way, you can replicate that solid, multi-line caption block seen in your example image and place it wherever you need it on the screen.
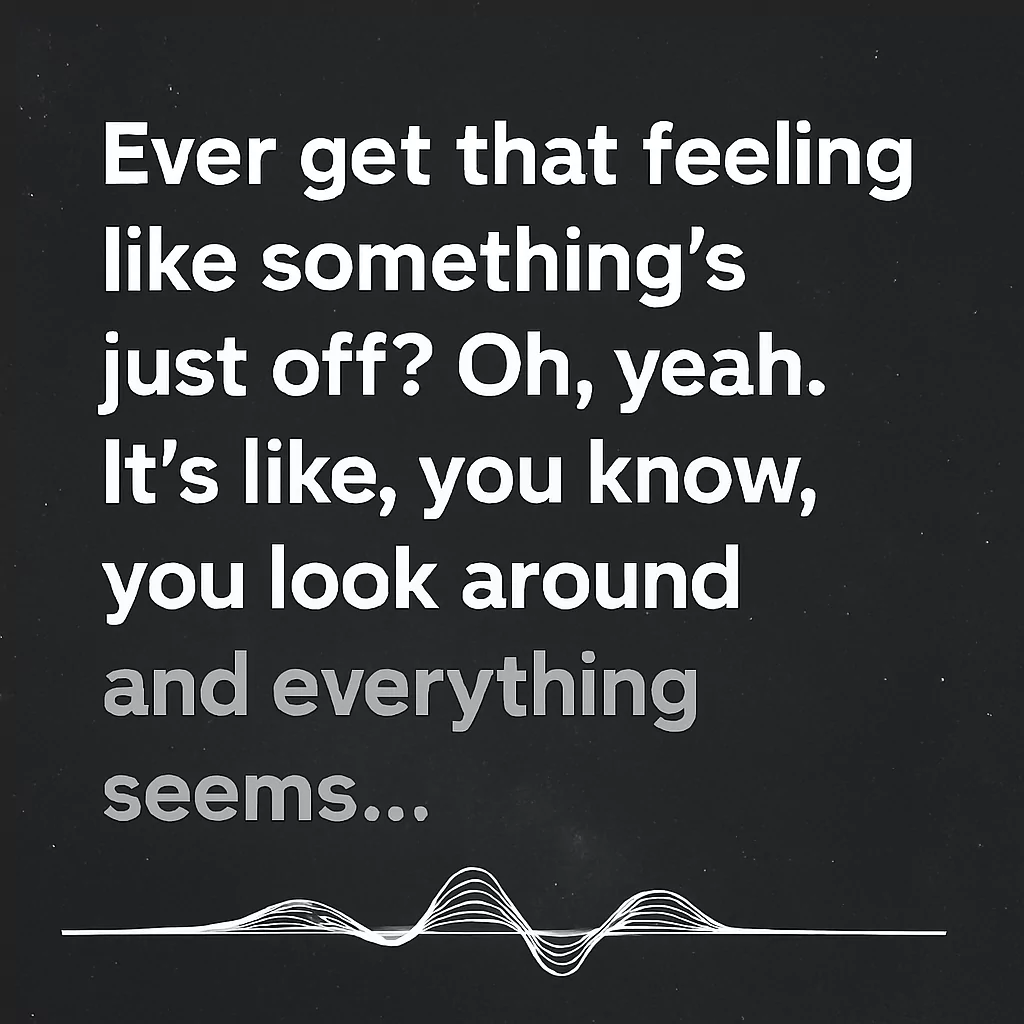
We will build a CapCut-style text overlay template that matches the one in your image. Here's how we'll lay it out:
- Example Text (adjust as needed):
- Ever get that feeling
like something's just off?
Oh, yeah. It's like,
you know, you look
around and everything
seems...
- Ever get that feeling
- Suggested Settings in CapCut:
- Font: Montserrat Bold (or any clean sans-serif)
- Font Size: ~18–24 (adjust to fit)
- Alignment: Left-aligned or Center (based on placement)
- Text Color: White (main) + Light Gray (secondary words)
- Text Shadow: On (black, low opacity for visibility)
- Background: None or subtle transparent box if needed
- Safe Zone: ON, keep all text within borders
- How to Style Certain Words Differently:
- To change color or weight of specific words:
- Select only the word (e.g., "off?" or "seems...").
- Tap on Style > Customize > Color or Bold.
- Use a softer gray for these to subtly emphasize them.
- To change color or weight of specific words:
- Suggested Layout Position:
- Position your text in the middle-lower third of the screen.
- To move: Just tap and drag the text box to wherever looks best in your scene.
- Save as Template:
- Once you've styled one perfectly:
- Tap on the text box.
- Choose "Copy Style" (or Duplicate).
- Now paste that style on other captions or scenes.
- Once you've styled one perfectly:
Here is a full layout image with waveform line included at the bottom:


