A velocity edit is a video editing technique where different parts of a video are sped up or slowed down to create dynamic effects. This method is popular for adding artistic flair or aligning with trends, such as the viral TikTok velocity edit trend, which combines sped-up and slowed-down clips seamlessly.
Velocity edits are ideal when you want varying speeds in different parts of your video. This technique helps emphasize specific moments, add dramatic effects, or simply follow the latest trends.
In this post, we’ll explain how to create a smooth velocity edit using one of the best tools for the job—CapCut.
What is meant by Velocity Edit?
With the unconventional video editing method known as a velocity edit, you may simultaneously slow down and speed up different parts of a video clip.
With Velocity editing, you have the freedom to creatively adjust the speed of your video without being limited by a fixed preset. While CapCut doesn’t offer a specific “Velocity Edit” feature, you can still achieve the desired effects by tweaking the speed settings.
Speed adjustment is a common video editing technique, typically used to speed up or slow down an entire clip. However, with a velocity edit, the playback speed varies at specific moments within the video.
For example, imagine a 30-second video. The first 10 seconds could be sped up, while the remaining 20 seconds are slowed down. This is how you can create a velocity edit in CapCut by strategically adjusting the speed.
Read Also:
- How to use Green Screen on CapCut
- Zoom In Effect using CapCut: The Ultimate Guide with video
- How to do CapCut 3D Zoom Effect – Detailed Guide
- How to Add Music to CapCut? – Detailed Guide
Step by Step Guide to make Smooth Velocity Edit on CapCut
CapCut is currently available for Android, iOS and PC. Just download by clicking on the respective links and be ready for the following steps.
Here are step-by-step instructions for creating a velocity edit in the CapCut video editor.
Start a New Project
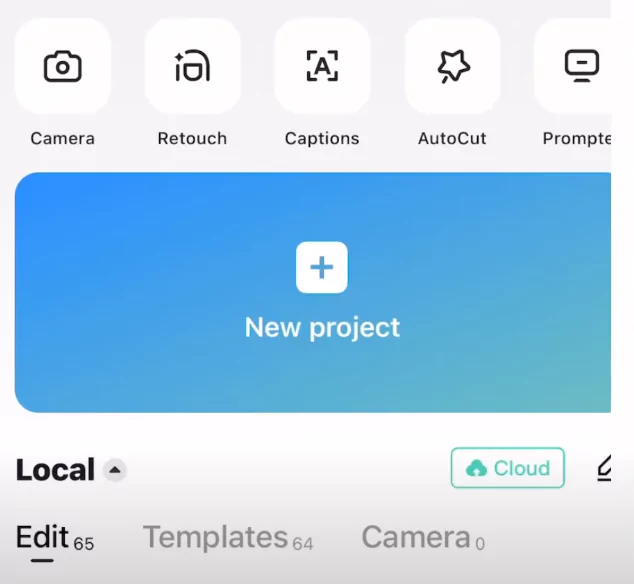
- Upload your video clip which you would like to modify for Smooth Velocity Edit
- Delete the outro
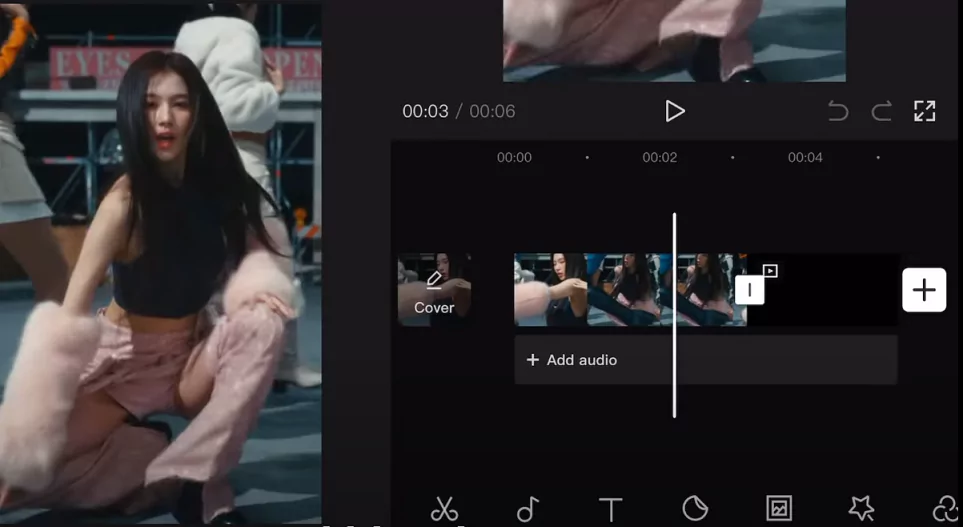
Adjust Speed
- Click on the clip and select “Speed“
- Set it to 0.4 or 0.3.
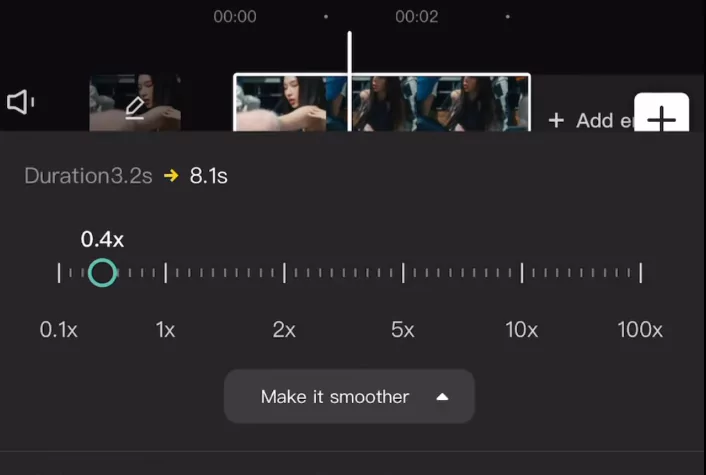
- Enable “Make It Smoother” and select “Better Quality” (located under the speed line)
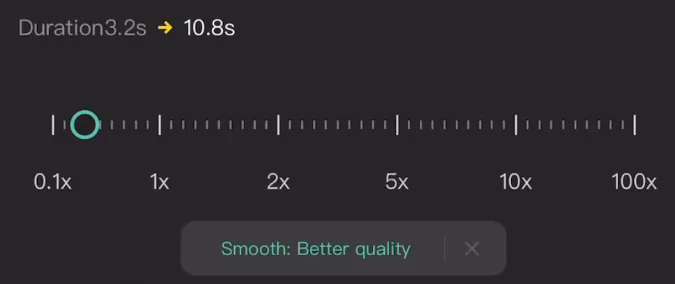
- Confirm by clicking the checkmark. (This might take a while for longer clips.)
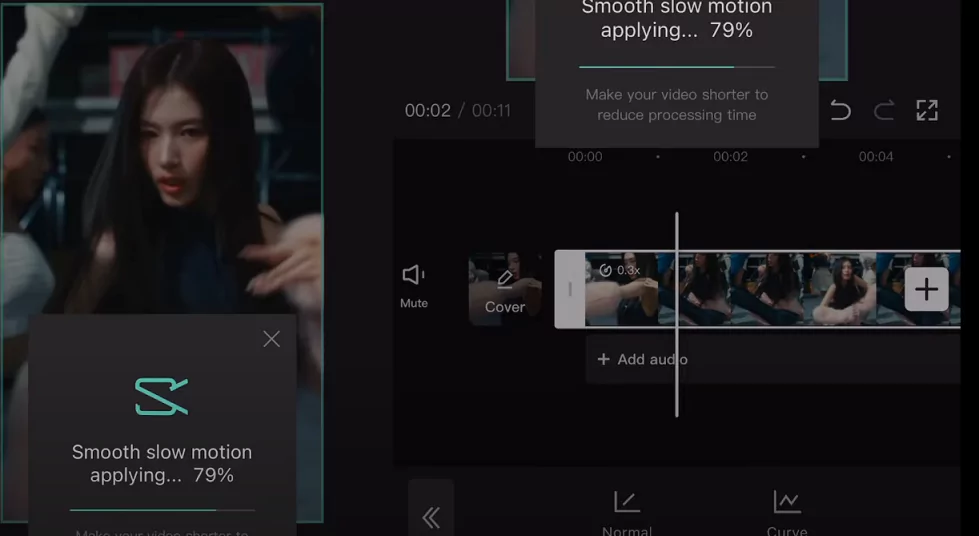
- Export your video.
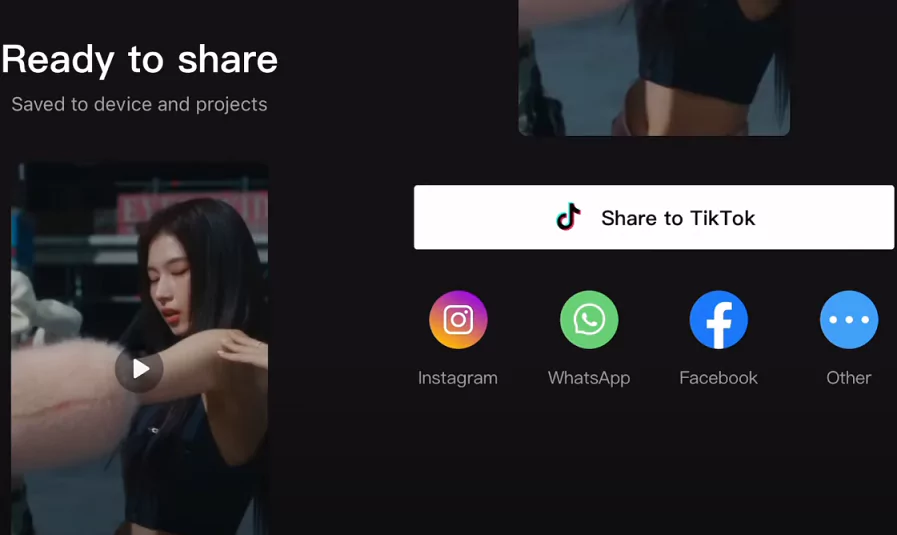
Add Sound
- Create a new project and import the video you just saved
- Delete the outro again
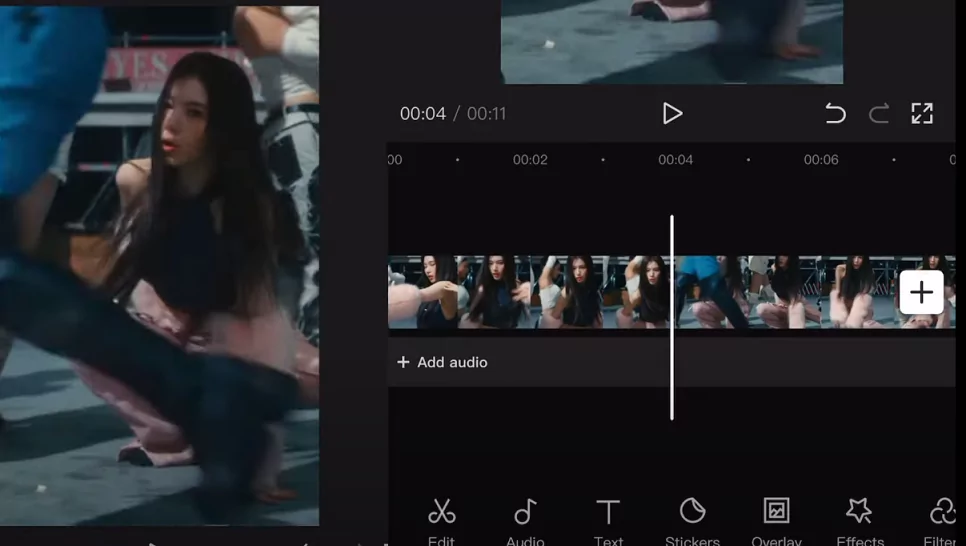
- Add your sound and mute the original clip’s sound
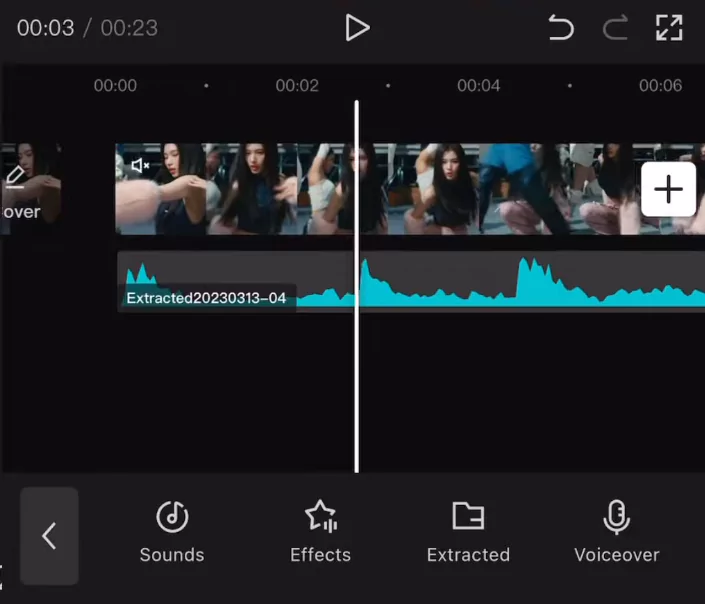
- Trim the sound as needed
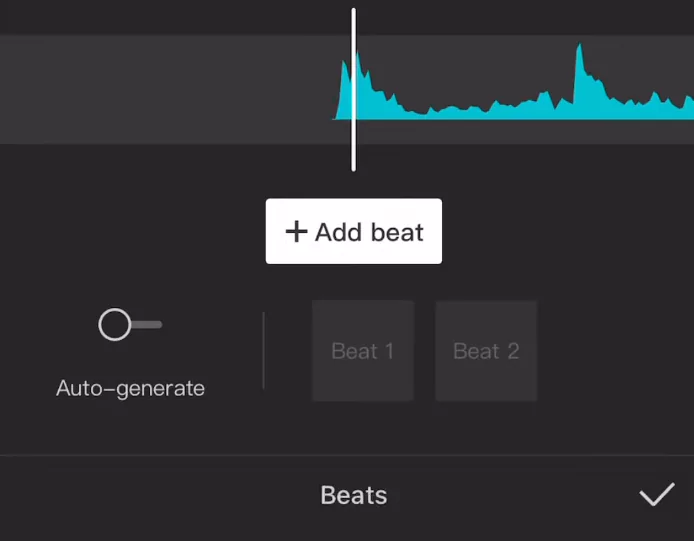
- Use “Sound Beats” option and click “Add Beat” on each beat
Create Speed Transitions
- Widen your project view by pinching outward on the timeline. This can be done by expanding your timeline with two fingers.
- Find the yellow dots (beats) and follow these steps:
- First Beat: Split the clip on the yellow dot, then speed up the section in between.
- Next Beat: Split again, but leave this section untouched.
- Repeat this process: split on each yellow dot, alternating between speeding up the in-between sections and leaving others unchanged.
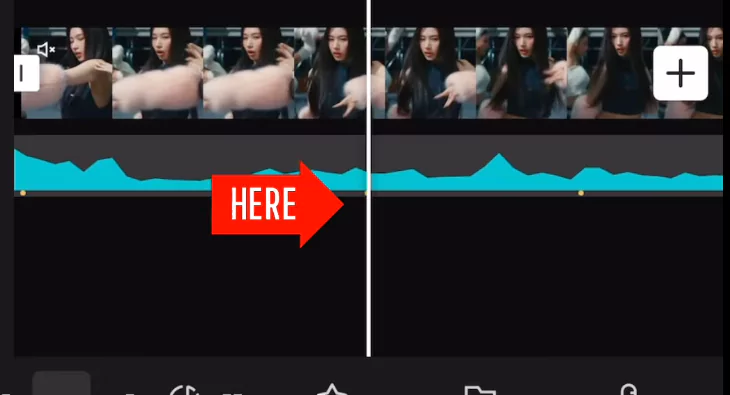
- If you make a mistake, correct it by adjusting your splits and speeds.
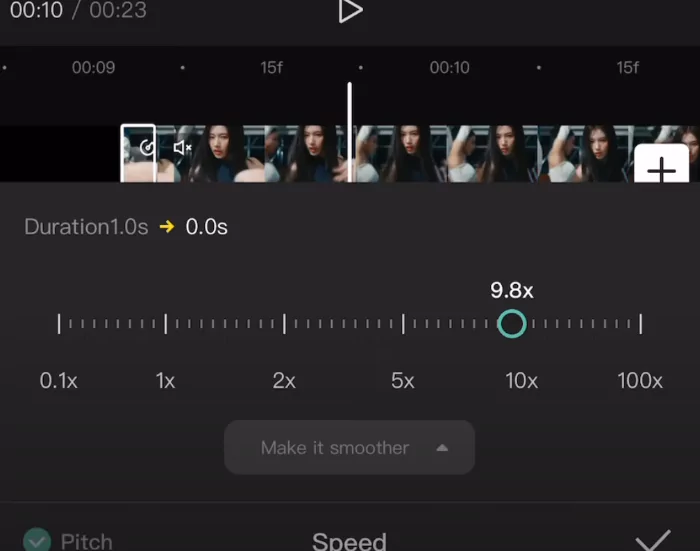
Final Touches
- Export your edited video.
- Create a new project with the saved video.
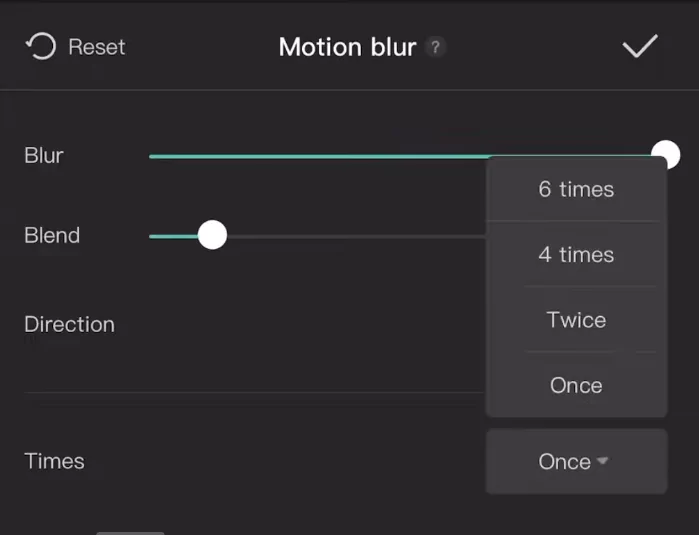
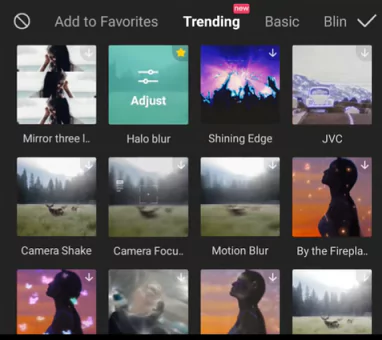
- Use “Motion Blur” option with these settings:
- Blend: 100
- Times: 12 (apply twice for the best results)
Enhancements
- Add a fade effect to your sound for smoother audio transitions
- Review and trim unnecessary parts for a polished look
Final Export
- Export your finished video, and enjoy your smooth velocity edit!
Watch the below tutorial video to understand better:
Velocity edits are not only fun to create but also incredibly effective for engaging your audience. With CapCut’s intuitive tools, you can easily jump on the latest TikTok trends and create eye-catching videos. Give it a try today!
How to do Velocity Edit on Android and iOS
This instruction for achieving Velocity Edit on Android and iOS. See our instruction on how to use CapCut on PC if you plan to edit videos on a computer.
Step 1: Launch CapCut on your Android or iOS smartphone to get going. If CapCut isn’t already loaded on your smartphone, you may simply discover it in the Apple App Store or Google Play Store. To start a new video editing project in CapCut, click the New Project button on the left.
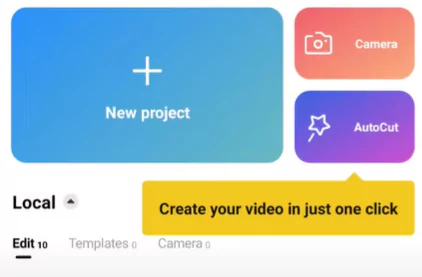
Step 2: Then choose a video to upload to CapCut from your camera roll. To confirm the addition, press the lower-right add button. You will then be sent to the CapCut editing interface, where you may use CapCut to edit videos in a variety of ways.
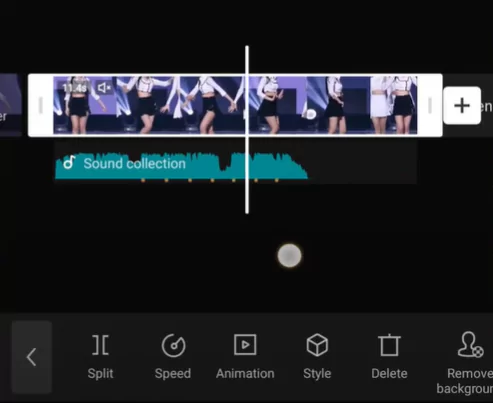
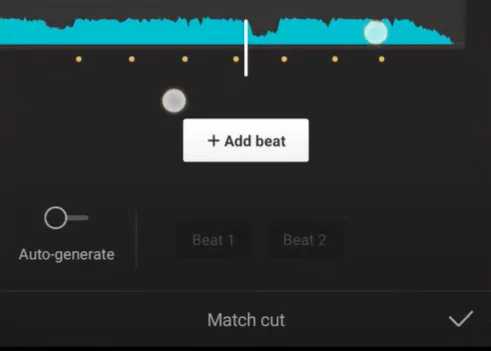
Step 3: Select the video clip in the timeline, then click the Speed button to apply velocity editing. The Curve button, which allows you the opportunity to adjust velocity for your films in a customizable method, is what we need to press in order to generate a smooth velocity edit.
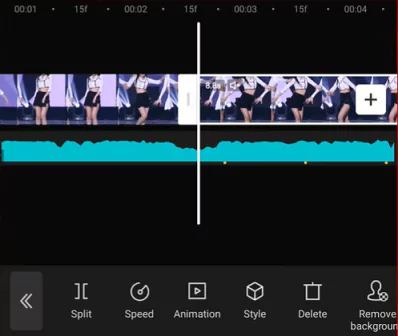
Step 4: You can see that CapCut provides presets for velocity editing such as Montage, Bullet, Hero, Flash In, Jump Cut and Flash Out. Press the Edit button on it after selecting Custom.
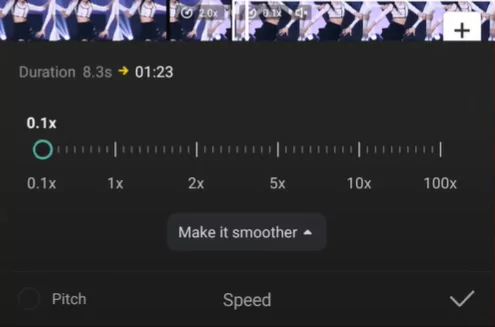
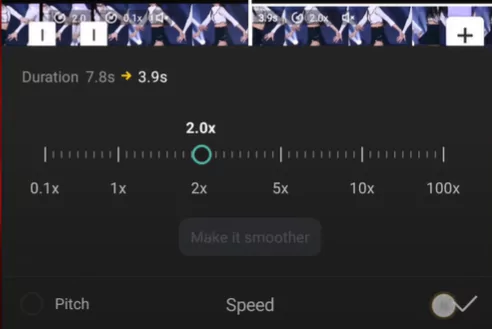
Step 5: Drag and drop the spectrogram’s dots to alter the velocity edit’s position and choose a speed change from 0.1x to 10x. Additionally, to generate a more frequent velocity shifting, you may add beats in the timeline by clicking the Add beat option.
Step 6: To save and export the velocity edit video to TikTok, WhatsApp, Facebook, Instagram, your smartphone, etc. after finishing editing, click the check button in the lower-right corner and then click the export button in the top-right corner.
Watch the below guide to learn how to do Velocity Edit:
How to do Auto Velocity on CapCut
Auto Velocity is a cool feature which you can use if you do not have much time or editing skills. It will automatically add velocity to your video. Just do the following simple steps:
Step 1: To begin a new video editing project after entering CapCut, click the “New Project” button.
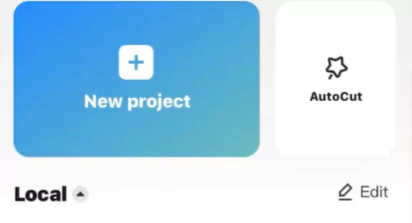
Step 2: Then choose a video to upload to CapCut from your camera roll. To make automated velocity on CapCut and to confirm the addition, press the lower-right add.
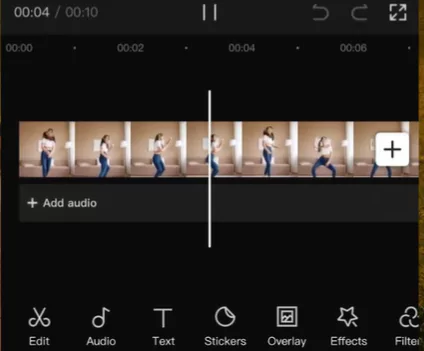
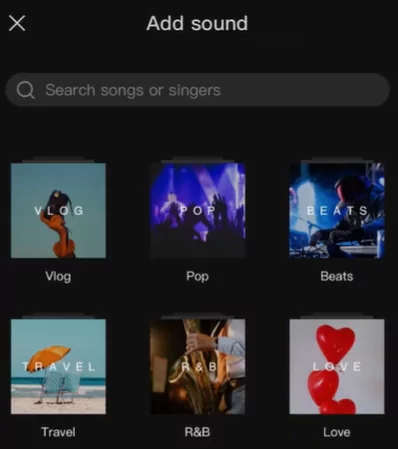
Step 3: You must click the Edit button after adding the movie to CapCut. This button may be found in the CapCut’s bottom left corner.
Step 4: After selecting Edit, all you have to do is type in the Style. Simply swipe left after pressing the style button to bring up Scene Swap.
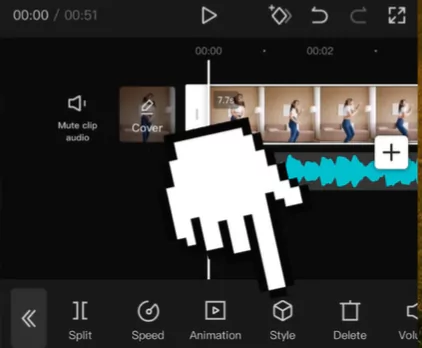
Step 5: When you click that button, the function Auto Velocity will show just below it. All you have to do is press Auto Velocity.
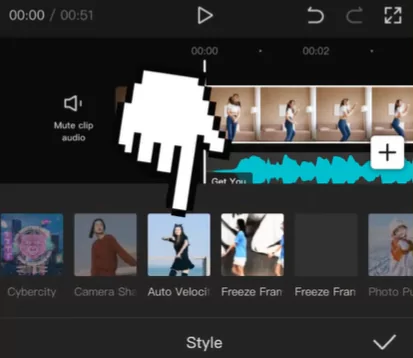
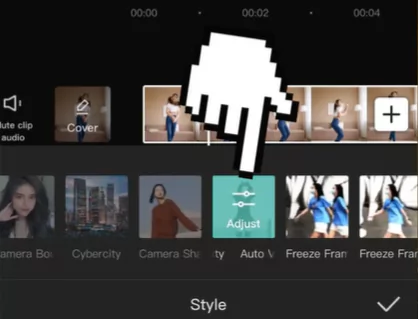
Step 6: After utilizing the Auto Velocity tool, your video has been velocity edited, and you may now effortlessly export it at the resolution of your choice.
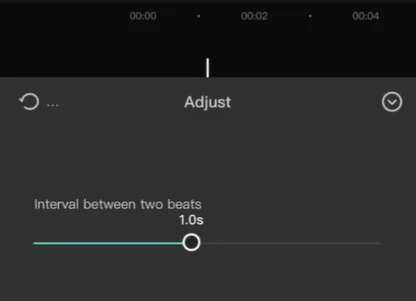
Video guide below:
Alternatives to CapCut for Velocity Edit
If you are not happy with the Velocity Edit available on CapCut then you may explore the following alternative options:
FlexClip
FlexClip is one of the best alternatives to CapCut, offering a high-quality online video editing experience with a wealth of resources and user-friendly tools. With its pre-made video templates, you can effortlessly create captivating videos for personal or professional use.
FlexClip enhances your videos with features like royalty-free stock music, sleek text animations, fun stickers, filters, and a GIF library. It’s simple to use, highly versatile, and completely free of charge.
MiniTool MovieMaker
MiniTool MovieMaker, a free video editor for Windows, allows you to create stunning videos by rotating, cropping, splitting, adding transitions, and applying filters.
It also offers the ability to adjust video speed. To create a velocity edit using MiniTool MovieMaker, you first need to split the video into multiple segments and then individually adjust the speed of each clip. This approach lets you achieve creative and dynamic playback effects.
Why use CapCut for performing Velocity Edit?
For both Android and iOS, there is a comprehensive video editing tool called CapCut. It has greatly increased in popularity among people, particularly among TikTok users. You may do simple modifications with this app, such as clipping, dividing, and reversing. It also has a tonne of different filters, transitions, messages, stickers, background music, and other features.
CapCut provides two choices for speed control: “Normal” and “Curve.” The first choice enables you to modify the overall video speed. Make a velocity modification using the “Curve” option. In other words, you may alter the pace of many parts of a movie at once.
How to add or delete a beat during Velocity Edit?
- As we’ve already mentioned, Velocity provides you with 6 Beats to experiment with. But if you want more freedom, you may add a couple more.
- Select the section of the yellow timestream to which you want to add a Beat by tapping on it, then hit the “Add beat” button in the top-right corner.
- The Beat can then be adjusted as necessary after that. To save the modification, use the tick button in the bottom right corner.
- You may view how many Beats are presently in your video by touching on “Curve” and selecting “Custom.”
- To delete a Beat, first pick it by tapping on it, then click the “Delete beat” button.
How to Create a Velocity Edit that has Music Rhymes
Learn how to create velocity edit on CapCut that syncs with the background music since the wonderful motions of velocity edit will undoubtedly work great with music.
- First, using the Match Cut tool in CapCut’s primary workspace, you may automatically generate beats for your films that will rhyme with the background music.
- To see the music beat lined up on the timeline, select Speed > Curve > Custom.
- After that, you may drag to vary each beat’s speed. Just be careful not to alter the dots’ horizontal alignment, otherwise your beats won’t syncopate with the music.
Closing Thoughts
Velocity refers to the speed at which a video clip plays. CapCut provides tools to adjust the speed of your clips, allowing you to create slow-motion or fast-motion effects. These effects are often used for artistic purposes or to align the video with specific time constraints.
CapCut’s velocity editing tool gives users precise control over the pace of their videos, making it easier to enhance the overall visual appeal. If you’ve already tried this feature, we hope you enjoyed using it—it’s one of the best free ways to achieve a smooth velocity edit!
We’d love to hear your thoughts! Share your feedback in the comment section below, and don’t forget to share this with your friends and family using the buttons provided!

